
Ground-based rescue robot simulation with 4 operating modes and test scenarios
 Jia, Jingyi
d9fd82fb88
update after presentation
Jia, Jingyi
d9fd82fb88
update after presentation
|
3 år sedan | |
|---|---|---|
| Concepts for operating ground based rescue robots using virtual reality | 3 år sedan | |
| Hector_v2 | 3 år sedan | |
| User Study | 3 år sedan | |
| .DS_Store | 3 år sedan | |
| README.md | 3 år sedan |
README.md
Hector VR v2.0
Introduction
Ground-based rescue robot simulation with 4 operating modes and test scenarios
Setup
In theory, you can run the project directly by downloading and setting up SteamVR Input.
0. Install
For similar pop-up alerts please click:

1. SteamVR Input
Set SteamVR bindings under Window>SteamVR Input>Open binding UI
2. Navmesh Agent
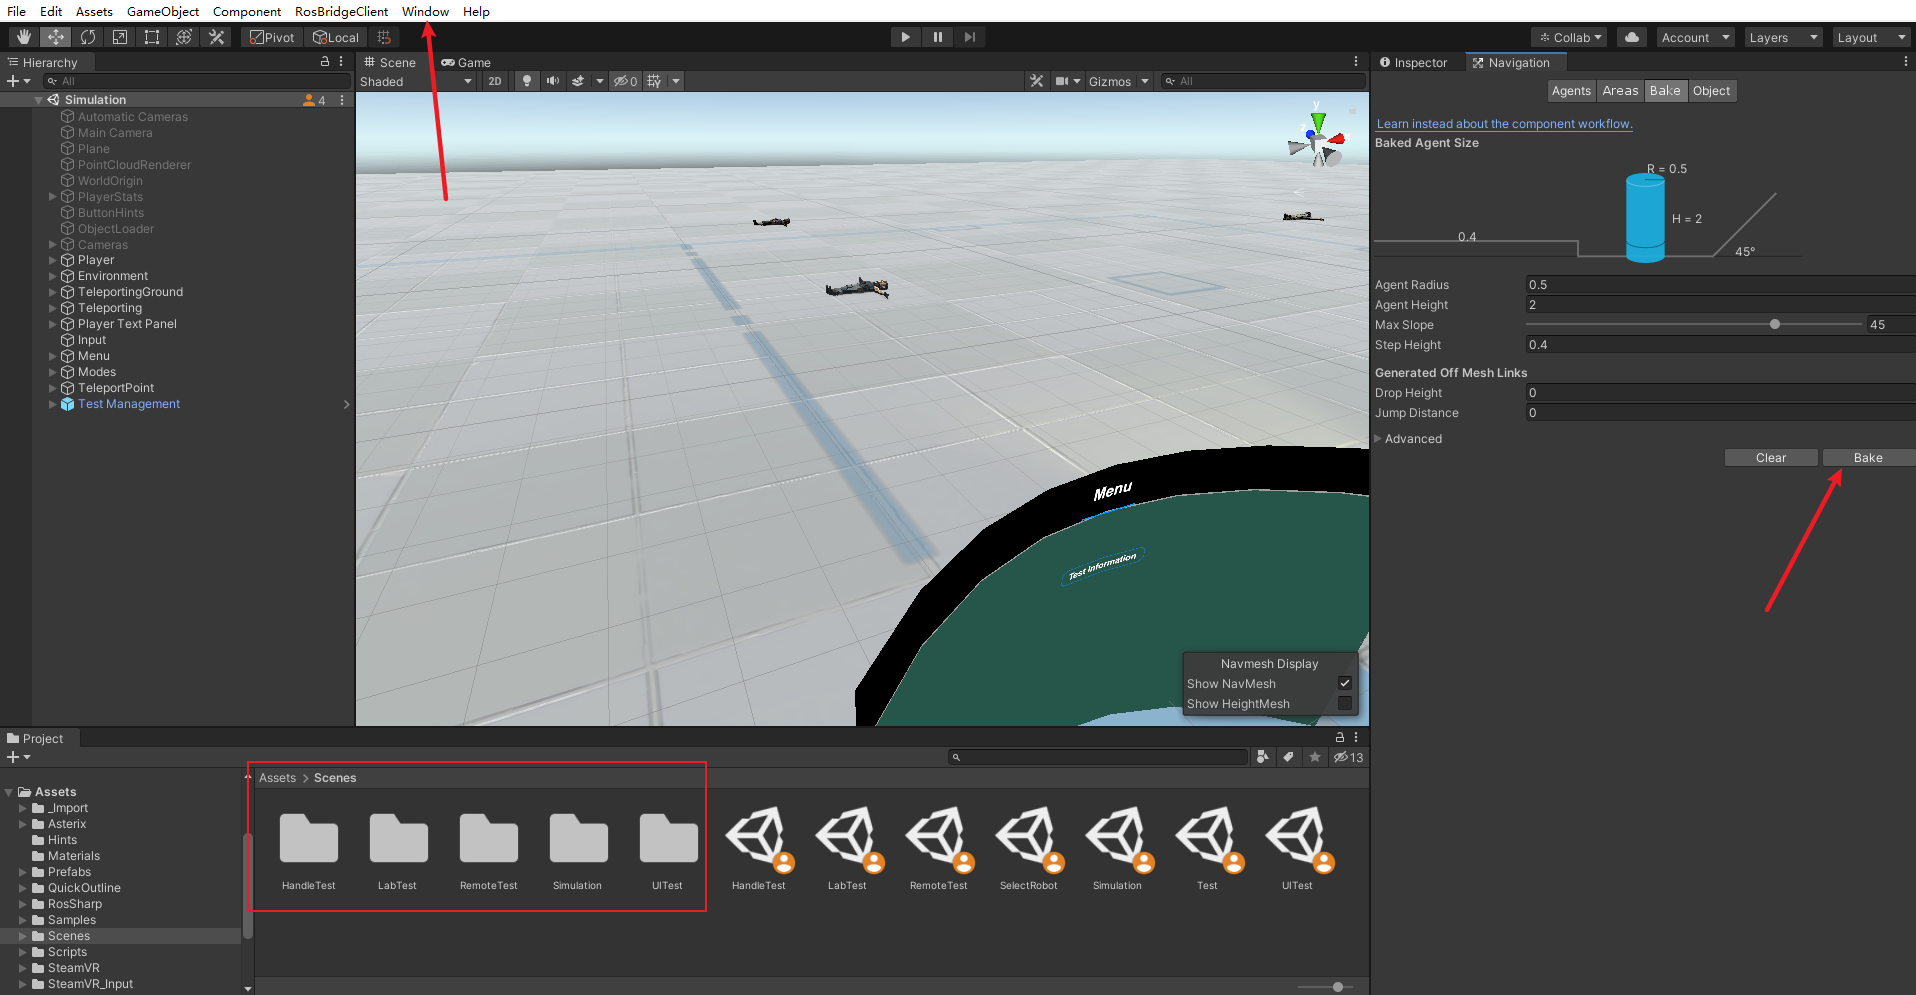
The project uses the NavMesh to allow it to navigate the Scene. Please make sure there is a corresponding Navmesh generated folder in the Scene folder. If the navigation does not work after running, please delete the origin folder and re-bake the scene under Window>AI>Navigation.
3. Set the path to save the .csv file
see TestManagement below
Operation Mode
1. Handle
The user can control the robot directly by operating the handle

2. Lab
The environment is designed to resemble a real laboratory environment as closely as possible, and is operated by holding the joystick or clicking on buttons with the virtual hand.
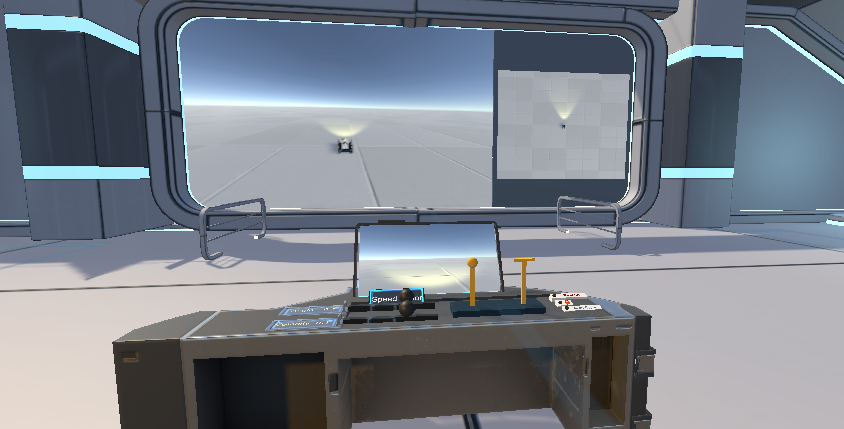
The part that involves virtual joystick movement and button effects uses an open source github project VRtwix.
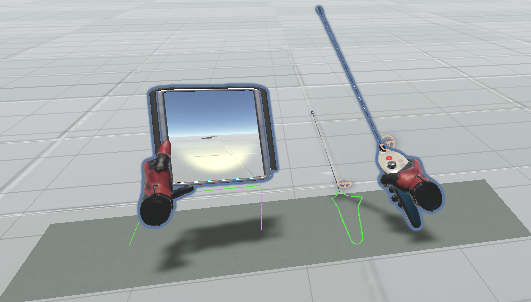
3. Remote Mode
In this mode the user can pick up the tools of operation manually: for example the remote control. Alternatively, the target point can be set directly from the right hand. The robot will automatically run to the set target point.
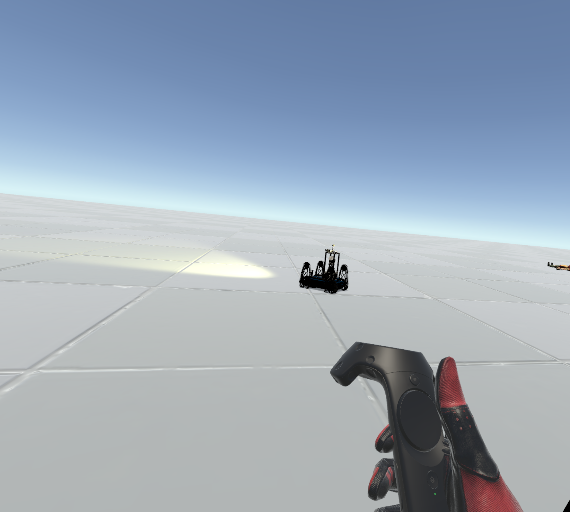
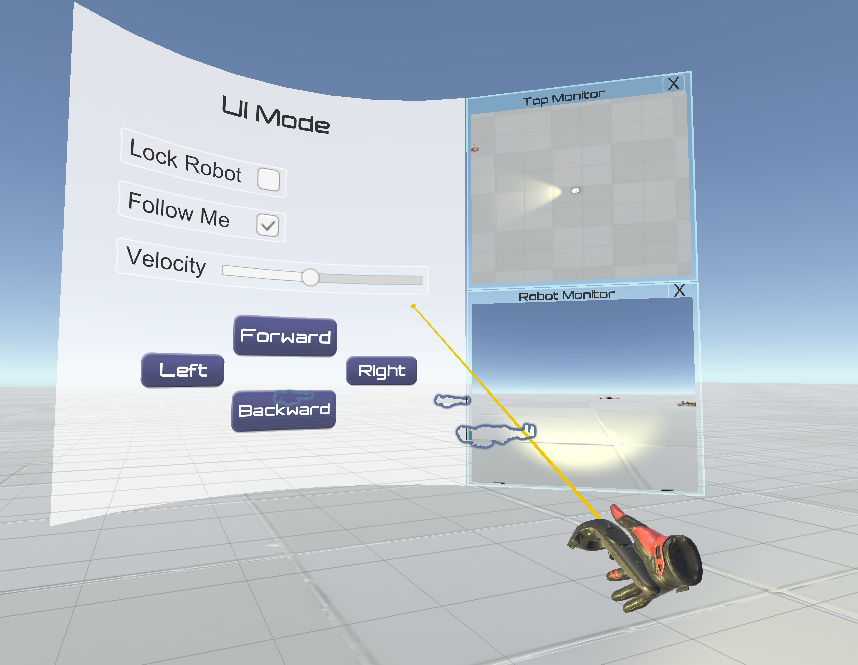
4. UI Mode
In this mode the user must use the rays emitted by the handle to manipulate the robot. By clicking on the direction button, the user can control the direction of movement of the robot. In addition to this, the user can also turn on the follow function, in which case the robot will always follow the user's position in the virtual world.
Test Scene
In the test scenario, the user is asked to find as many sufferers as possible within a limited period of time. The test is terminated when the time runs out or when all victims have been found. Throughout the test, the robot's performance, including the total distance travelled, the average speed travelled and the number of collisions, is recorded. In addition to this, the rescue of victims, for example if they are already in view but ignored by the user, is also recorded.
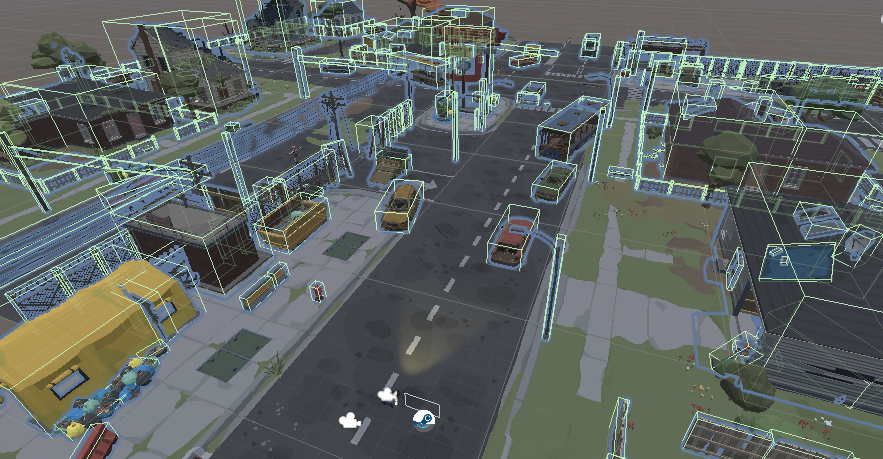
Collision Detection
Each object in the scene that will be used for collision detection comes with a suitable collision body.
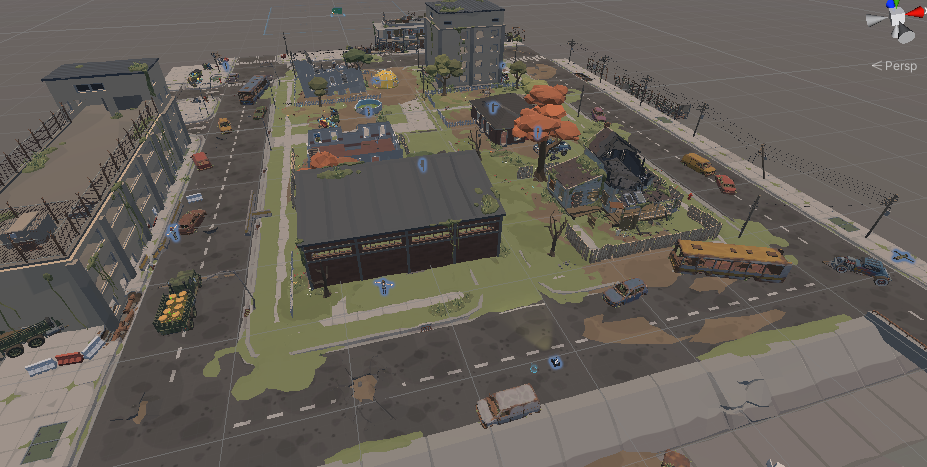
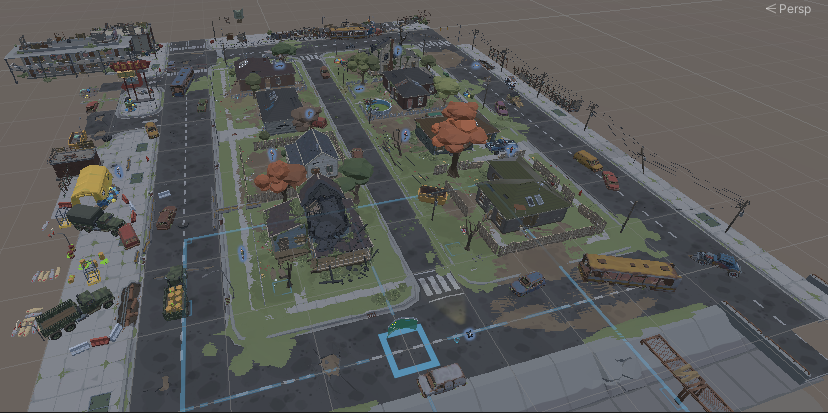
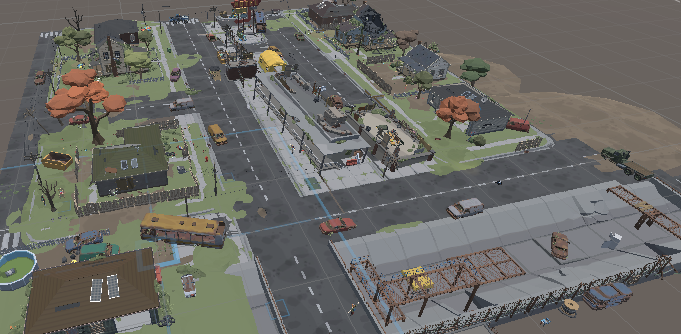
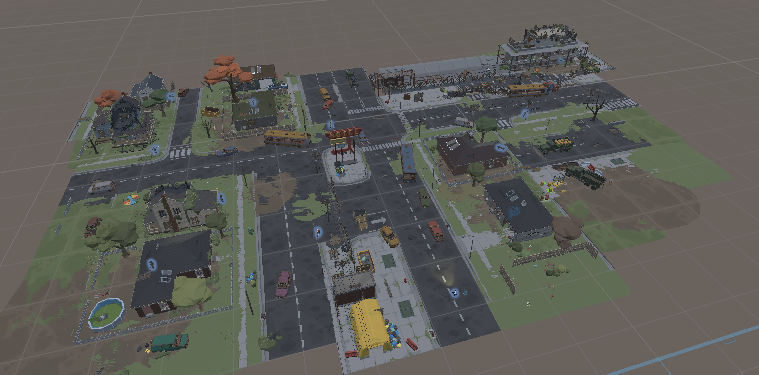
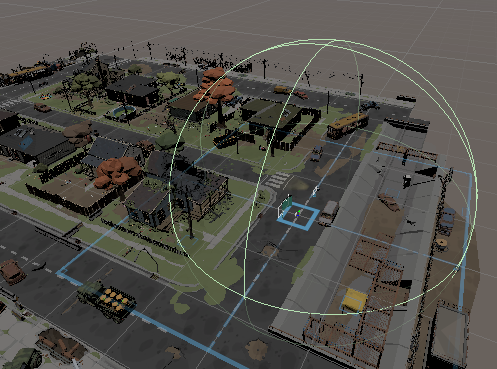
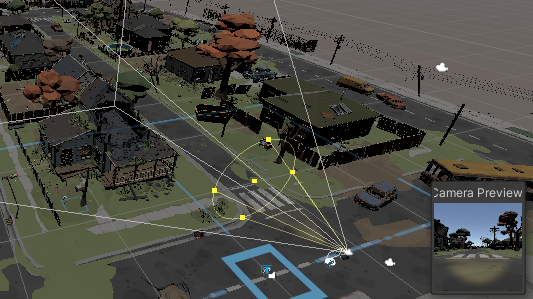
Scene overview
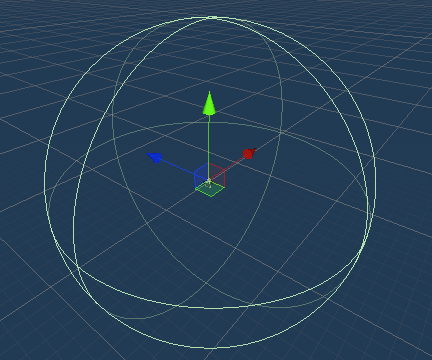
Robot
To simulate the process of a robot using a LiDAR to detect the real environment and synchronise it to Unity, a sphere collision body was set up on the robot.

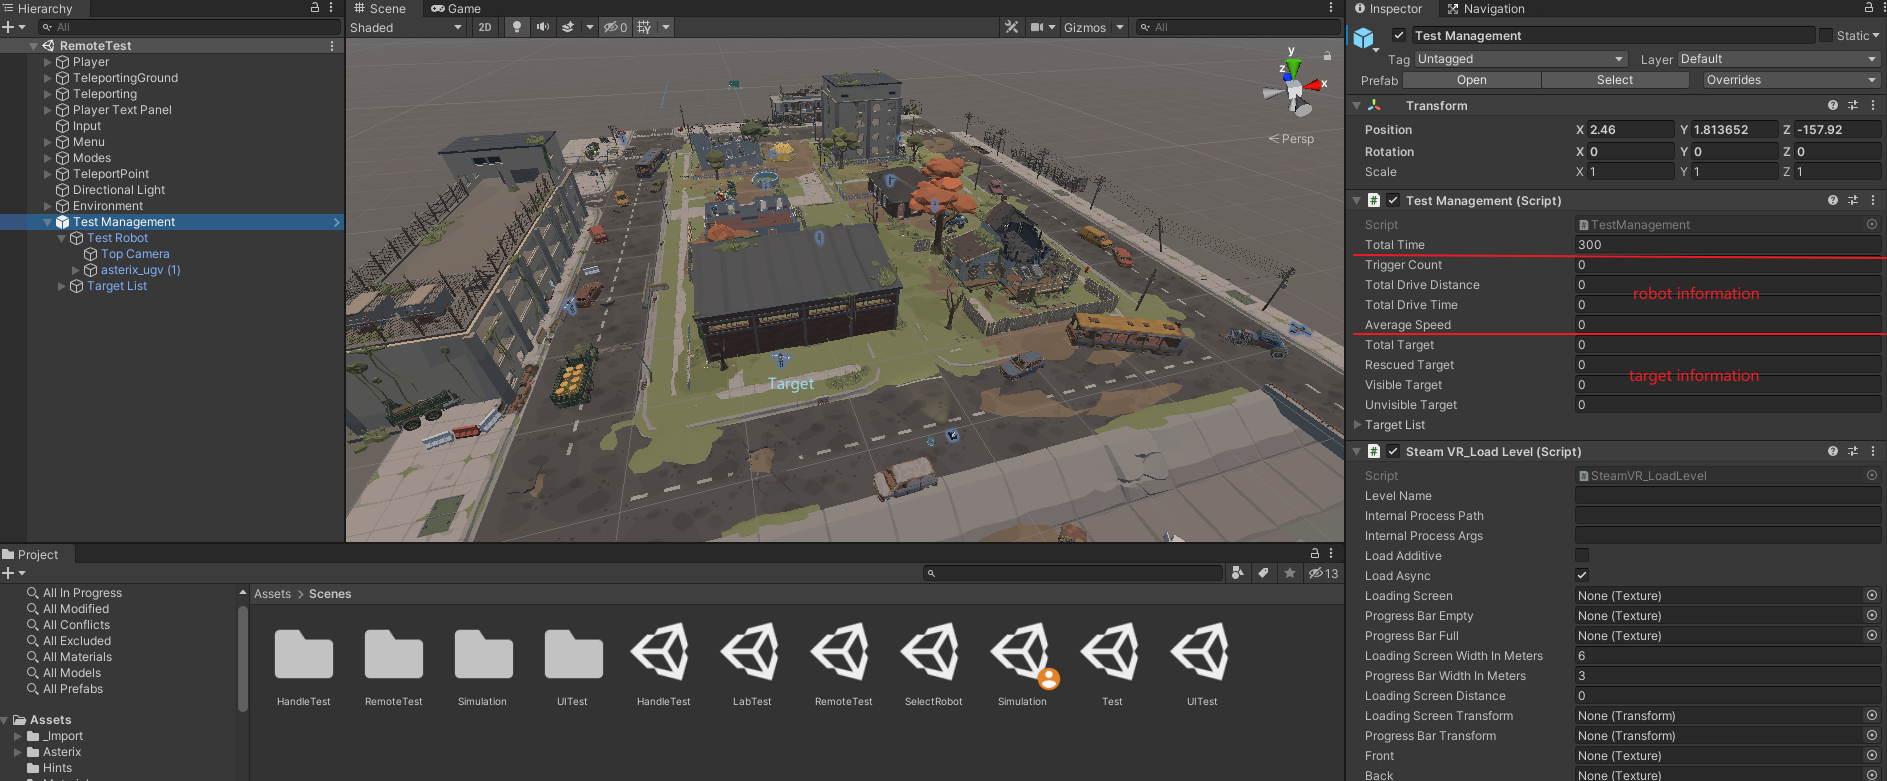
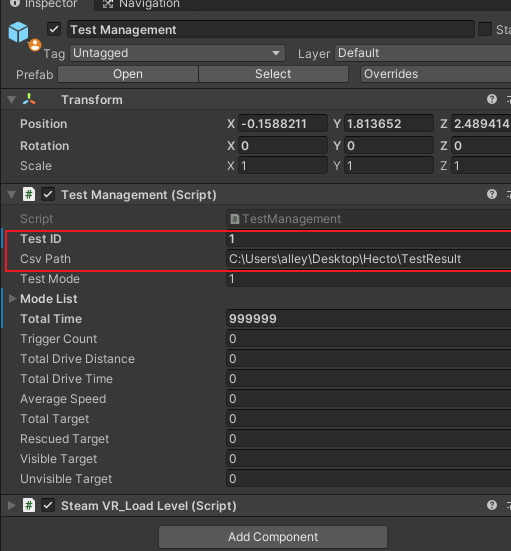
TestManagement
The order of the tests depends on Latin-Square with size =4.
TestID & .csv file
The TestID (sequential number of this participant) must be set before testing, as well as the path to store the .csv test data.
The .csv file should be closed during the test.
A possible folder path can be:
C:\Users\Desktop\TestResult
After the time is out, or all the victims are rescued,
- The test will be ended
- .csv data will be recorded
- Clicking the "Ende Test" Button will lead to the next operation mode
How to stop the test immediately
If you want to stop the current test immediately, change the value of Total Time. When the value of Total Time is 0, the test will automatically end and the test data will be saved.
If you click End Test when the test is not really stopped, you will return to the Simulation scene and remain in the same operation mode.