index.md 1.8 KB
Unity Recorder User Manual
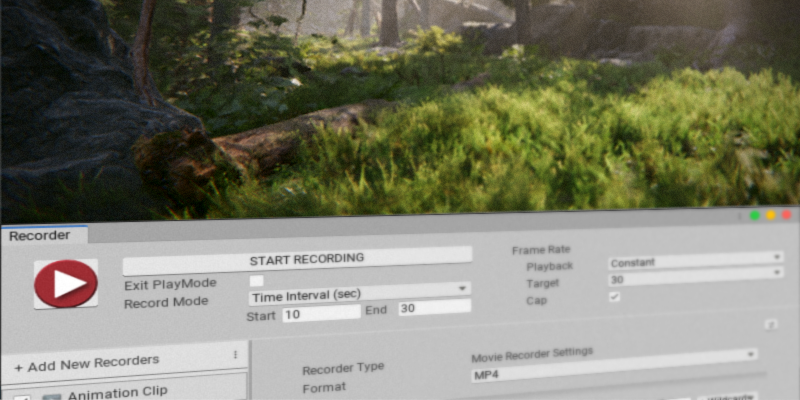
Use the Unity Recorder package to capture and save data during Play mode . For example, you can capture gameplay or a cinematic and save it as an .mp4 file.
[!NOTE] You can only use the Recorder in the Unity Editor. It does not work in standalone Unity Players or builds.
To capture Play-mode data you need to set up Recorders. Each Recorder controls a single recording, and specifies details such as the data source, resolution, and output format. You can use more than one Recorder at the same time to capture Play-mode data.
You can set up the following types of Recorder:
Animation Clip Recorder: generates an animation clip in .anim format.
Movie Recorder: generates a video in .mp4 or .webm format.
Image Sequence Recorder: generates a sequence of image files in .jpeg, .png, or .exr (OpenEXR) format.
GIF Animation Recorder: generates an animated .gif file.
Audio Recorder: generates an audio clip in .wav format.
Recording from Timeline
The Unity Recorder also supports Timeline. You can use Recorder tracks and clips to trigger recording sessions from Timeline instances. See Recording from a Timeline Track for details.
Enabling legacy Recorders
As of version 1.0, Unity Recorder uses new, updated Recorders that take advantage of Unity Editor features and are more stable than previous versions.
If you're upgrading from a pre-1.0 version of Unity Recorder, or supporting legacy content, you can toggle the legacy Recorders on from Unity's main menu (Window > General > Recorder > Options > Show Legacy Recorders).
