Installation.md 2.2 KB
Installation guide
This guide describes how to install and activate the Input System package for your Unity Project.
Note: The new Input System requires Unity 2019.1+ and the .NET 4 runtime. It doesn't work in projects using the old .NET 3.5 runtime.
Installing the package
To install the new Input System, open Unity's package manager (menu: Window > Package Manager). Select the Input System package from the list, then click Install.

Enabling the new input backends
By default, Unity's classic Input Manager (UnityEngine.Input) is active and support for the new Input System is inactive. This allows existing Unity Projects to keep working as they are.
When you install the Input System package, Unity will ask whether you want to enable the new backends. If you click Yes, Unity will enable the new backends and disable the old backends, and the Editor will restart.

You can find the corresponding setting in the Player settings (menu: Edit > Project Settings > Player), under Active Input Handling. You can change this setting at any time. Doing so will restart the Editor.
Note: You can enable both the old and the new system at the same time. To do so, set Active Input Handling to Both.
When the new input backends are enabled, the ENABLE_INPUT_SYSTEM=1 C# #define is added to builds. Similarly, when the old input backends are enabled, the ENABLE_LEGACY_INPUT_MANAGER=1 C# #define is added. Because both can be enabled at the same time, it is possible for both defines to be 1 at the same time.
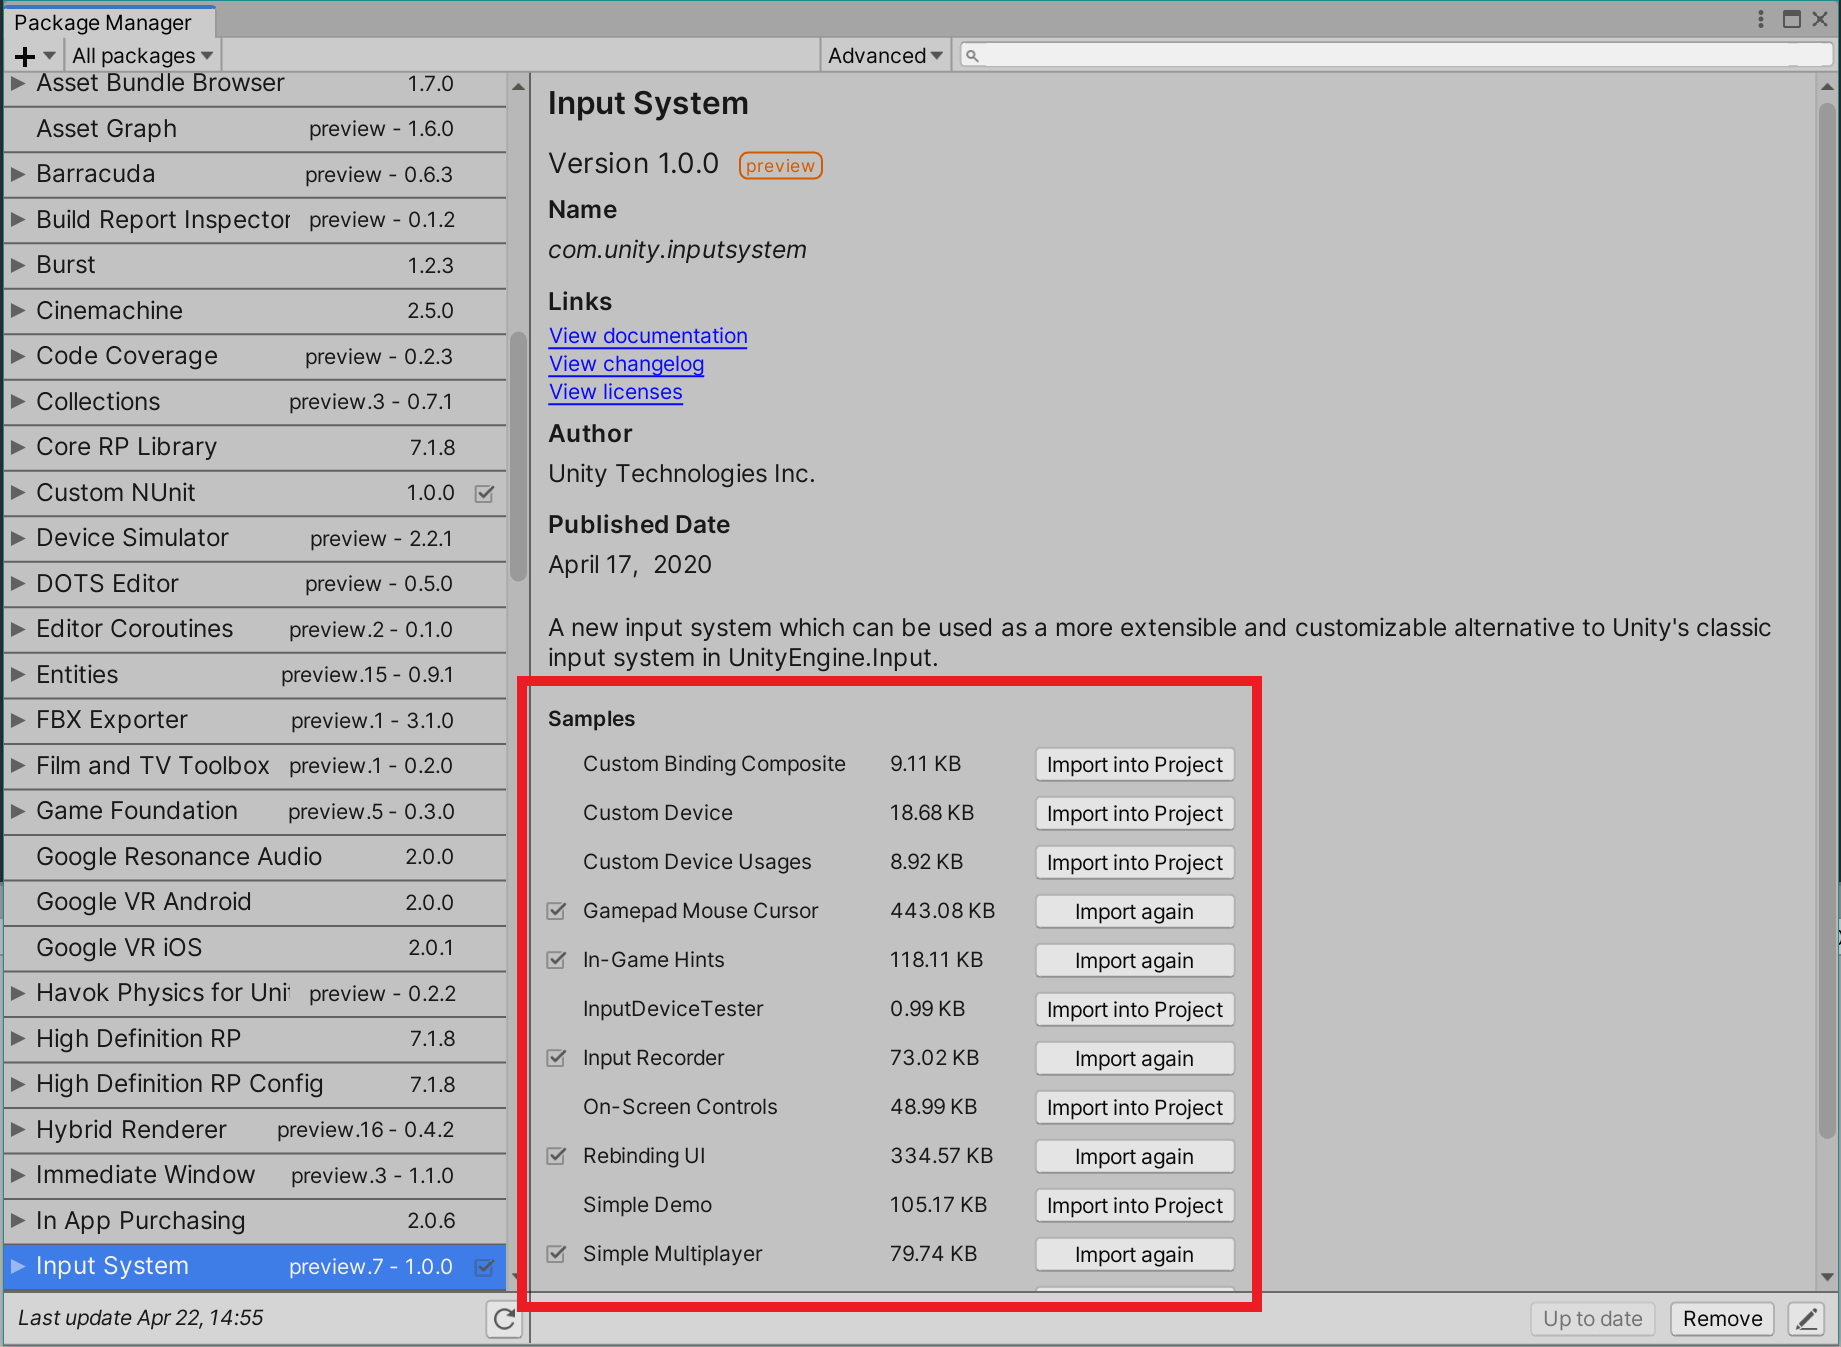
Installing samples
The Input System package comes with a number of samples. You can install these directly from the Package Manager window in Unity (menu: Window > Package Manager). To see the list, select the Input System package in the Package Manager window. Click Import into Project next to a sample to copy it into the current Project.